Installation
- Install CodeVista IDE Extension
- Get the latest version of the CodeVista extension from the Visual Studio Code Marketplace: https://marketplace.visualstudio.com/items?itemName=AIC.codeVista
- Alternatively, if you can also search for CodeVista extension directly in Visual Studio Code
-
Launch CodeVista
-
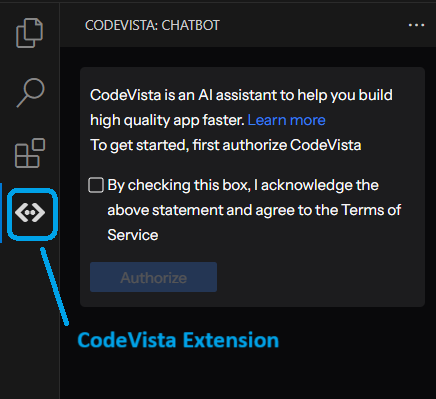
After installing the extension, the side activity bar will display an icon for CodeVista. Click this icon, and CodeVista's panel will open. This interface is used to start a Chat, run CodeVista commands or get access to relevant resources.

Image: CodeVista
-
Log In
-
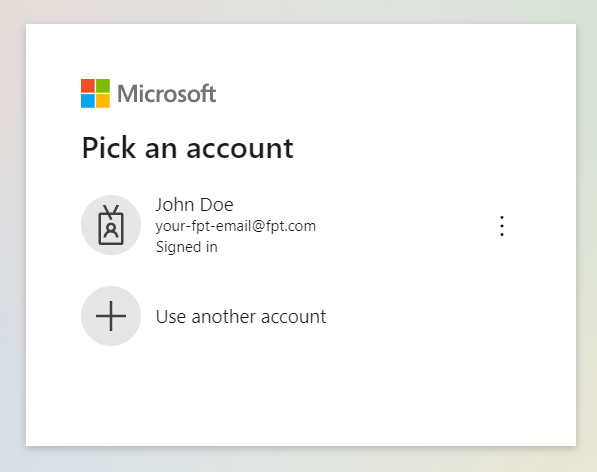
Click on "Login with Microsoft" and follow the instructions to log in with your @fpt.com account.

Image:Login
- Select User’s Project
-
Click to chose the setting icon on the right above of CodeVista Extension.

Image: Select Setting
-
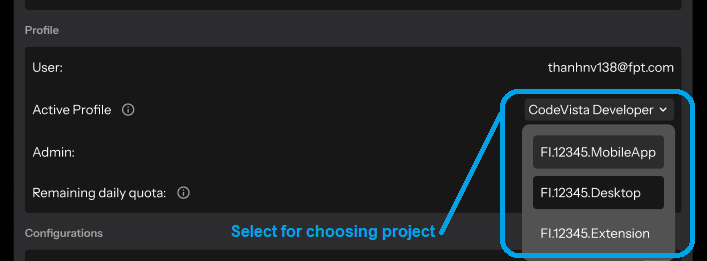
From the Settings screen, click for choosing assigned project name that user want to work for.

Image: Select Project
- Start your first chat
-
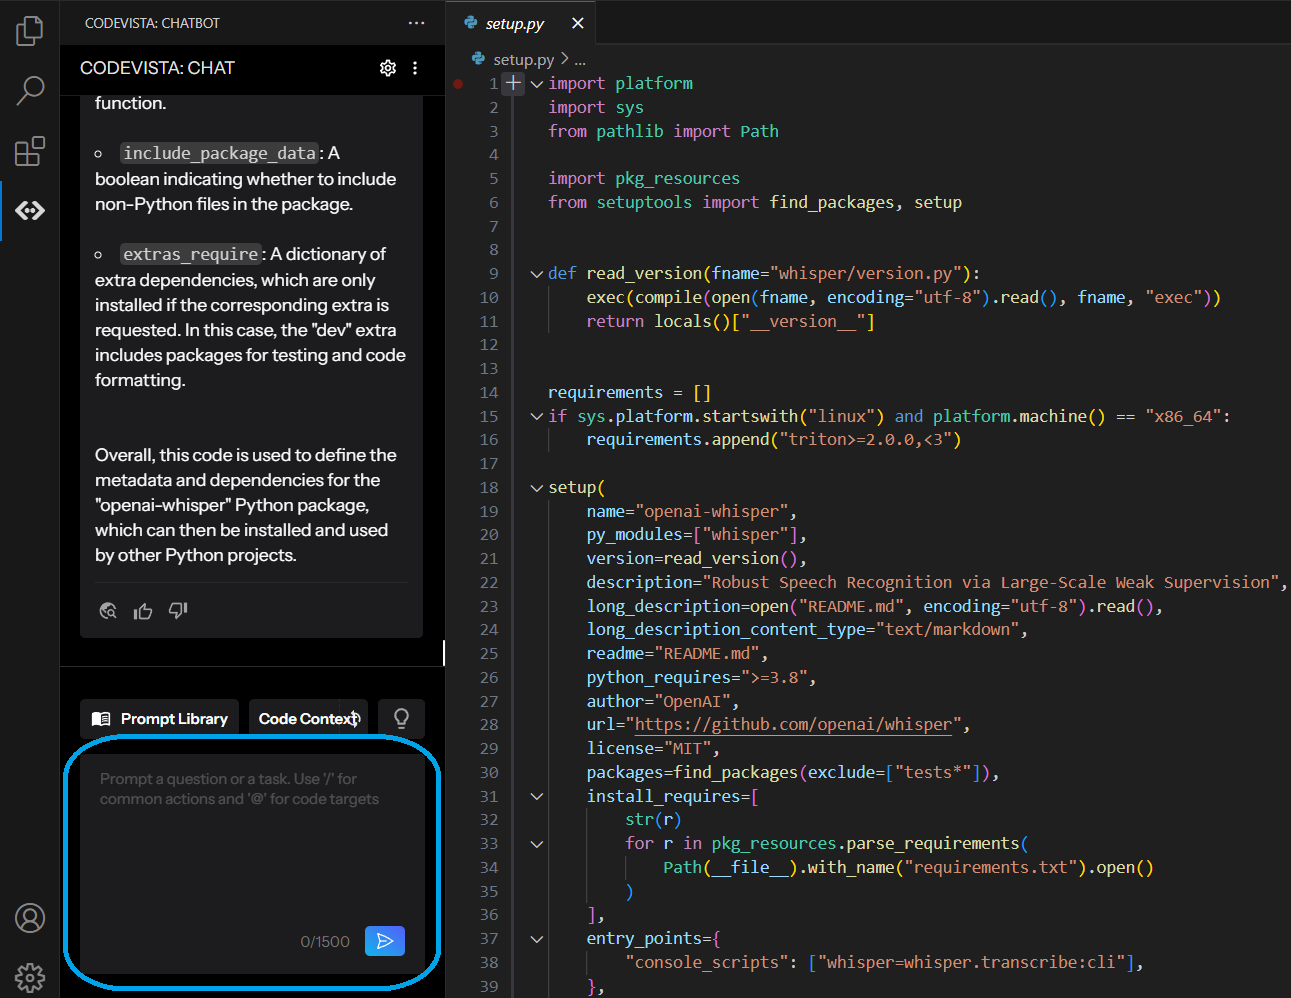
Click on the chat box to input prompt and hit Enter to send your first message to CodeVista assistant.

Image: Chatbox